Bowl Turning
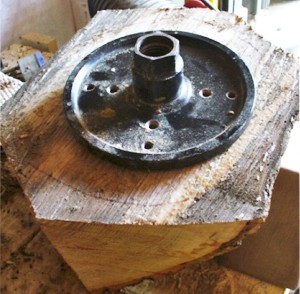
Bowl turning is an ancient craft, almost as important as the Blacksmith. Here is a brief description of the basics. First we select a blank to be turned and mark it out for size. I prefer to do the back shaping first and also I need to able to cut a tenon to the back to fit my chuck. To do this I first mount the blank on to a face plate. Then once on the lathe, I do some general shaping of the back and tenon.
Next, once I have a tenon and have balanced out the blank, I transfer the piece over to my 4 jaw chuck. To begin with I start shaping at a slow speed, gradually increasing as the piece balances and becomes more round. 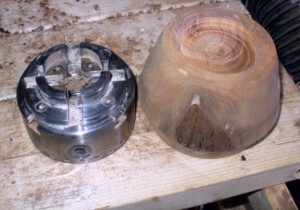
Once the general shaping of the outside is complete, I then begin cutting the inside. This is where patience and skill comes in, as catches with the chisel can ruin the piece. Small cuts are made slowly scraping out the centre of the bowl. I prefer to use fingernail gauges as opposed to bowl gauges, as they give you a little more flexibility.
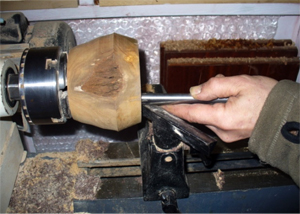 When cutting out the centre of a bowl, it is important to try and protect and go slow with the rim and side walls, as one slip can reduce your bowl to a plate ! One I am happy that I have reached the depth in the centre, then on to finishing .
Finishing cuts are made using the chisel in a closed position i.e the flute is turned right over. This gives fine cuts and removes tool marks. After this I go on to a round-nosed scraper, and clean away any remaining marks, and smooth off the outside.
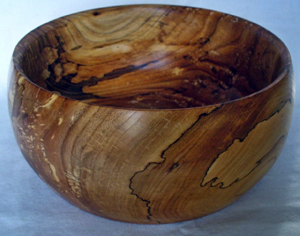
The last stage is sanding, here I start with a 120 grit sandpaper on a slow speed. Moving up through 240, 320 to 400 grit. At 400 if the grain is smooth I move on to a finishing coat – here I have used beeswax. If needed the tenon can be removed at this point to make a completely flat bottom. For this a set of button jaws can be used. The bowl is reversed and the base is cut away.
Should you have any questions please feel free to contact me at : [email protected]
Comments are closed for this post.
