From tree to bench
Anyone who has visited one of our woodlands for sale in Devon or Cornwall will most likely have noticed, maybe even sat upon, one of the benches which are a particular feature in the woodlands that my colleague - Stuart Brooking and I, prepare for sale. Until now, we have bought in the timber for making the benches, from local sawmills - who use only locally sourced materials.
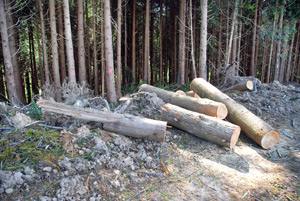
Recently though – through unfortunate circumstances in a way – we found ourselves with a ready supply of timber within our own woods, so we decided to go for a wholly DIY solution for our next batch of benches. What happened was that, following the removal of Japanese Larch in one of our woods, a stand of 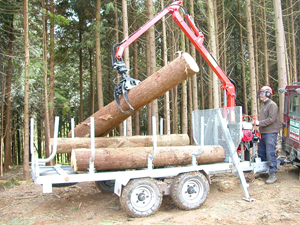 Western Red Cedar became suddenly exposed to the elements and this proved too much for some of them; several ‘went over’ and a few snapped off completely.
So, stage one was to fell these damaged trees and cut them to length. Again, by good fortune, this particular woodland contains a large forestry barn, so we were able to use this as our centre of operations. The task was, therefore, ‘just’ to transport the lengths of timber to the shed. A short but steep stretch of track with a particularly soft area at the lowest point plus a fully laden trailer presented a few minor operational challenges, but we got there eventually!
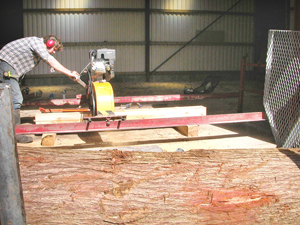 Having got the lengths of timber to the barn, the next stage was to slice them into the ‘blanks’ from which we construct the benches; nominally these are eight feet long, eight inches wide and four inches deep, but they were sliced up so as to minimise wastage. We hired in a mobile sawmill and operator for the day. Not only was this a very cost-effective solution, but it also meant that the timber did not have to be transported to a sawmill, processed and then brought back again. The biggest surprise was just how quickly Daniel** [the sawmill operator] got through the timber we were bringing in to him – we struggled to keep up.
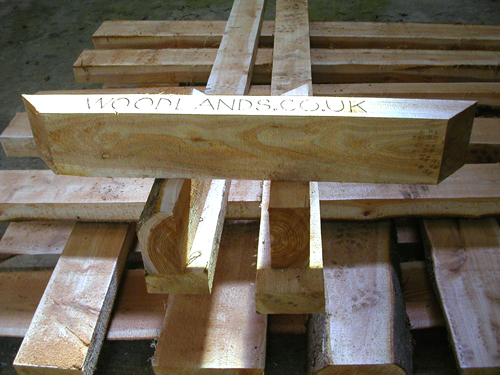
The final stage was to convert the blanks into "oven-ready" benches, by cutting them into tops & legs with mitred corner joints and routering the company brand name onto the front edge of the seat. So at the end of the day we were able to stand back and admire a freshly made stack of benches ready for planting out in the woodlands.
** Mobile saw-milling by Daniel Humble-Smith of Marshwood in Dorset. Full contact details can be found in the supplier’s directory, elsewhere on this website.
Comments are closed for this post.
Discussion
Photos added
at end of post
Is there a photo of the finished product anywhere? I’m having trouble picturing it from the contruction instructions.
This is a great way to recycle trees that are damaged by the elements.
It looks like you made quite a few!
I love seeing a timber bench in the woods, it seems so much more natural than any other kind.
Nick
It is a fairly basic design. You can of course vary the dimensions according to the materials you have available, but starting with an 8 foot length of approx 8″ x 4″, here’s what I do:
– find the mid-point and then make a mark 2 feet either side of the mid-point
– from these marks, draw lines at 45 degrees, sloping inwards(on the 4″ side)
– cut vertically down these 45 degree lines. This can be done either with a handsaw, or (with a bit of practice and a good sharp chain), a chainsaw
– along the longer side of the two ‘legs’, draw a line about 18″ from the top
-set the legs in the ground to the depth indicated by the line you have drawn
-secure the top to the legs. I use 6″ “Timberfix” exterior coach screws, screwed in horizontally, through the sides of the legs and into the seat, about 2″ from the top
– and that’s it. Now all you have to do is make a brew, sit down & enjoy the view!
It would be really good if you felt able to share the design of your bench. Would you?
Nick
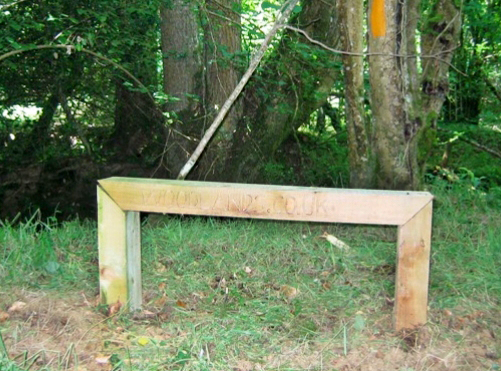
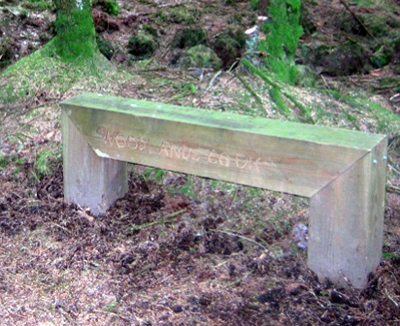
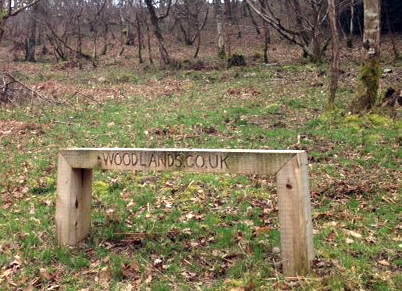

Thanks :-)
Chris B
13 March, 2014