Pine cones – an activity
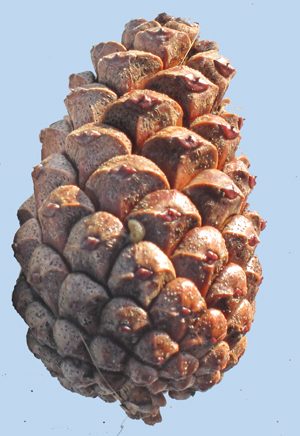
Half term is coming, and perhaps you will be visiting your own wood or walking through woodland during the holiday period. Below is a simple activity (that you could supervise) which might interest younger members of the family.
Did you know that sometimes pine cones stay on the trees for some years, before falling to the ground? During that time, seeds form under the scales of the pine cones. The scales have two important functions
- to protect the seeds from bad weather and
- to protect the seeds from foraging, hungry animals.
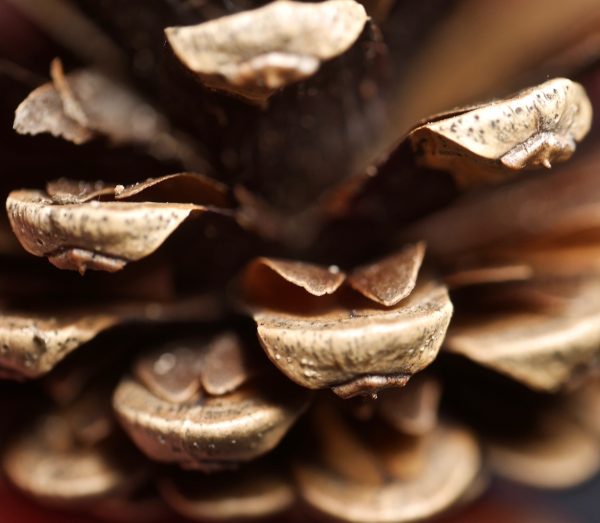
Eventually, the seeds are released so that they can grow into new trees. To have the best chance of finding fertile soil and growing successfully, the pine cone scales stay tightly closed (see featured image) when the weather is cold and wet as these conditions are not suitable for germination and growth of a young seedling. When the weather is warm and dry, the seeds will have an better chance of finding suitable conditions and a place for growth. In such conditions, the pine cone scales open, allowing the seeds to escape and drift away from the parent tree. Pine cones open and close even when they have fallen from the parent tree. It is quite easy to investigate the conditions that affect this movement (i.e. the opening and closing) of the scale leaves .
Materials / Equipment needed
- Four (or more) mature, closed , similar sized pine cones collected from outside - preferably from the same tree.
- A warm place, such as a warm radiator or airing cupboard
- Four (heat resistant) shallow containers e.g. bowls, saucers, foil dishes
- Some tissues
- A measuring tape (ideally with millimetre divisions)
- Some water
- A clock or a kitchen timer
- Paper and pencil / pen
- A permanent marker
- Depending on the age of the children, an adult helper
Preparation
Label the pine cones, using the permanent marker. Label as A, B , C and D
Create a table like that below - to record your results.

(1). Use the measuring tape to measure the length of each pine cone, to the nearest mm. For each pine cone (A, B, C & D) , write down the length in the column headed Initial Length.
(2). Then use your measuring tape to measure around each pine cone (the circumference) at its widest point. For each pine cone (A, B, C & D), write down the circumference (in millimetres) in the column headed Initial Circumference.
(3). Place pine cone A in a plastic dish covered with a dry tissue (in a cool but dry place). Note the time and leave for six hours
(4). Place pine cone B in a plastic dish but covered with a dry tissue but near a warm radiator. Note the time and again leave for six hours.
(5). Place pine cone C in a plastic dish, covered with a wet tissue near a warm radiator (inspect from time so that the tissue does not dry out). Note the time and again leave for six hours.
(6). Place pine cone D in a plastic dish, covered with a wet tissue in a cool place. Note the time and again leave for six hours.
(7). After six hours, for each pine cone - measure the final length and circumference, and record your results in the table.
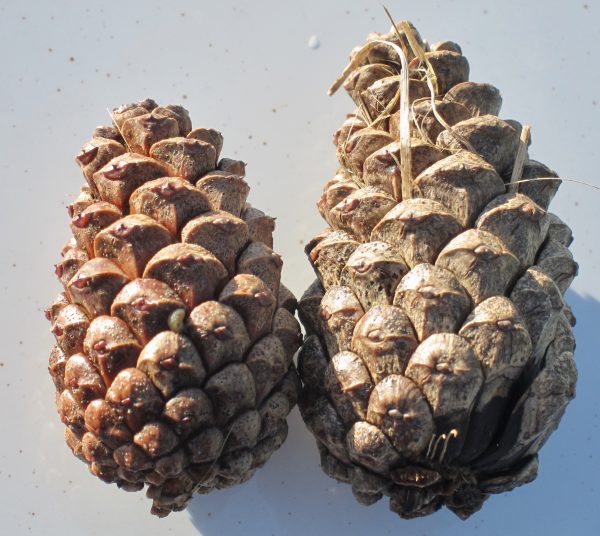
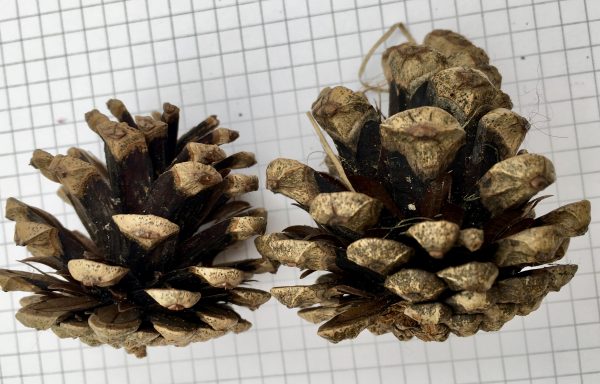
Same pines as above but after being indoors for a day
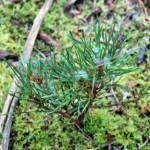 Why is it a good idea to collect similarly sized cones, from the same tree?
- What changes did you observe in your cones?
- Have the pine cones increased or decreased in length and / or circumference ?
- Can you work out the percentage changes in length / circumference ?
- What do these changes suggest about the dispersal of seeds from pine cones?
- How could you improve your investigation ?
If any seeds have fallen out of your cones - you could plant them and if they germinate and grow on into small plants - you could then plant them in your woodland, or possibly your garden (but remember that pines can grow very tall).
Comments are closed for this post.
Will be forwarding this article to friends with young children/grandchildren – and also trying myself! Educational and great fun. Thank you.
Pam
10 February, 2018